I put a fun twist on a simple challenge today. The idea was to make one block using the fabric provided with the theme of fruit and flowers. I was imagining everyone depicting local Okanagan themed fruits and flowers like cherries and apple blossoms. So I decided to add an element of art by using a piece of fruit as a stamp to create flowers. First, I cut an orange in half wondering if I'd get the texture of the orange segments for flower petals. It was juicy of course, so I placed it on a paper towel to dry out a bit. This is also a great project if you are feeling like a light snack. As you can see I ate half the orange before I even started, but DO NOT clean and eat the rest of the orange after you've used it to paint. Just pick your oldest, crummiest orange and make the sacrifice for art's sake.
You can see the pink/green/blue floral batik we had to use. I was planning to paint the orange and stamp some flowers on a neutral background. I painted yellow and pink acrylics on the orange with a brush. I didn't get the detailed segments I was hoping for but the colours came out nicely.
Without the success of the texture of the orange segments to create petals, I decided to add the challenge fabric as petals. The first layer looked very nice but seemed a bit flat. So I added a third dimension by fusing a smaller flower in middle with just a dot of fusible web in the centre. I stitched it on and then ironed the petals towards the centre so they stood out. All that was left was to stitch on the foliage.
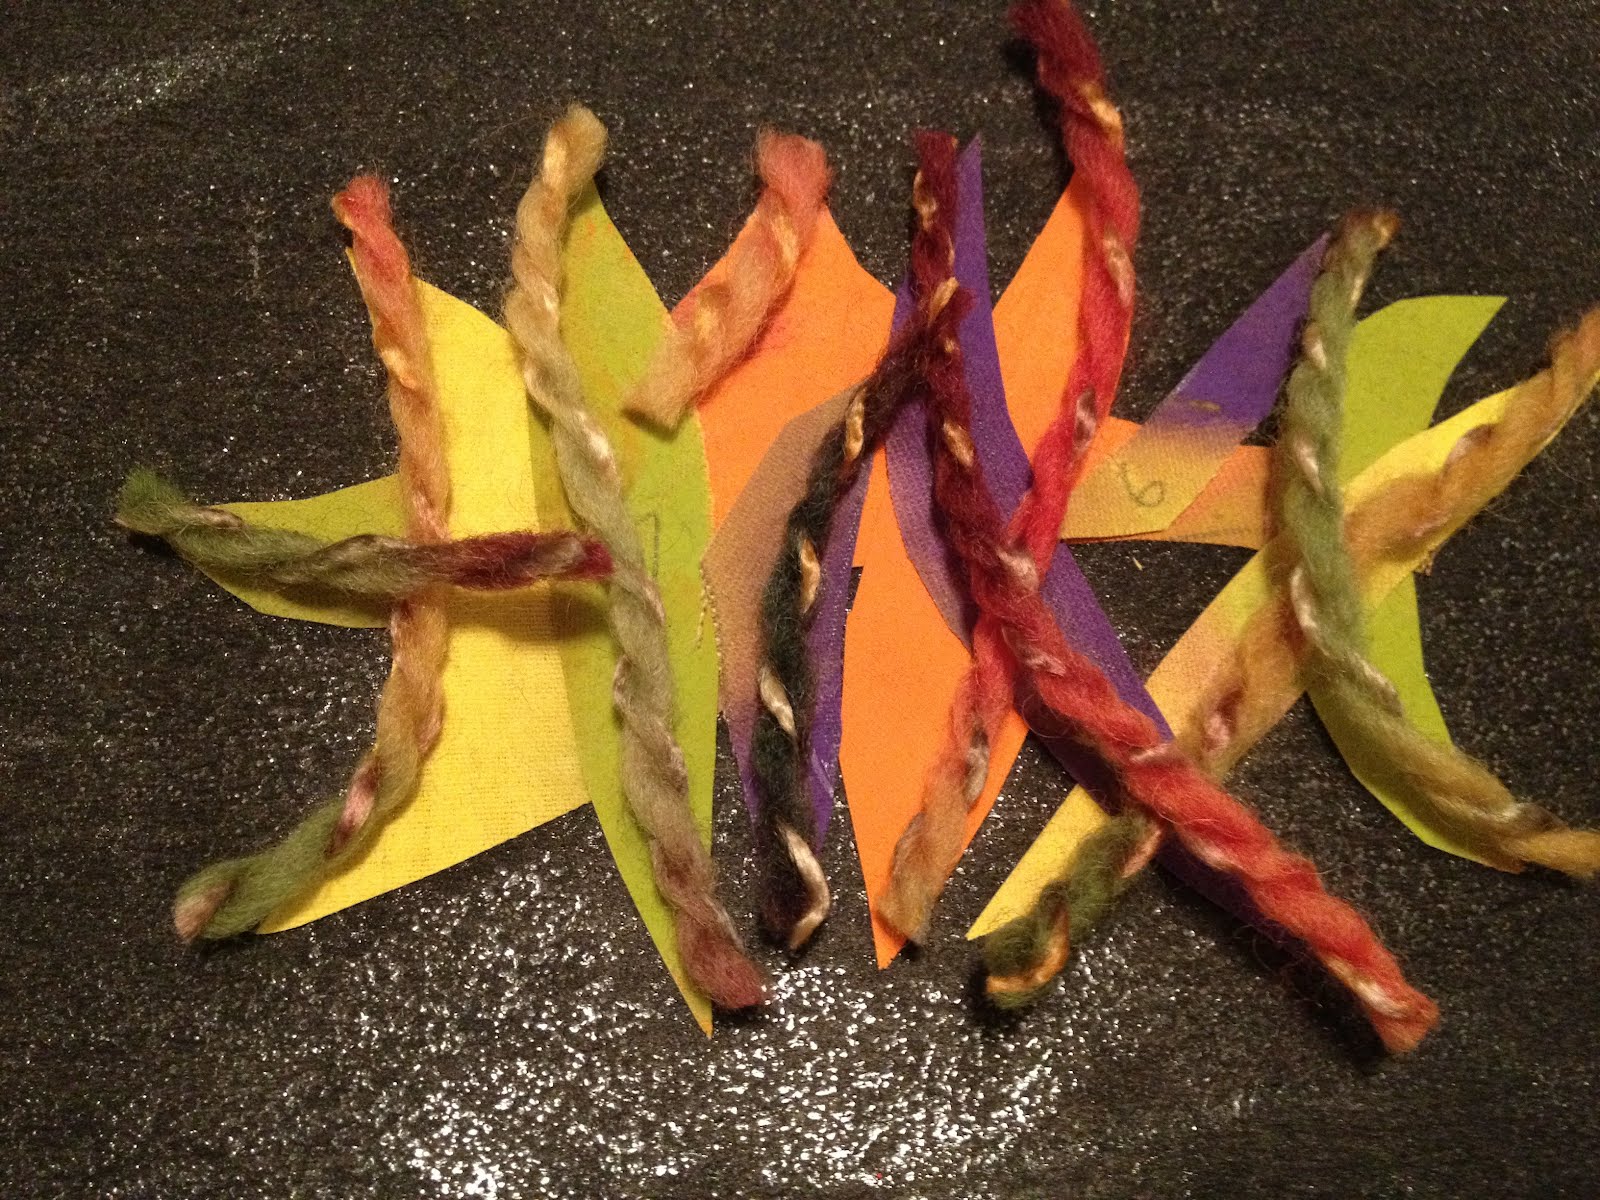
I chose to do a simple couching technique with some yarn. I drew a simple design first with pencil and couched over top. Then I filled in the leaves with a mixture of yellow, green and black acrylic paint. Mixing colours this way adds some dimension and lessens the flat matte paint effect. This little project was very fun and took just 2 hours. (I sped up the drying time with a blow dryer!) The one thing I would do differently with the foliage is to use a stabilizer to prevent small wrinkles and puckering. If you are stuck with this dilemma with no time for a redo, I suggest spritzing the finished piece with water, carefully stretching the fabric slightly with your hands and ironing it flat.
Try out some simple stamping techniques yourself - take a look in your fridge! You may find yourself stamping it up with some old broccoli you should have eaten a week ago.
Quilt Teacher, Speaker, Judge and the Host of Canadian Quilt Talk - Brandy Lynn aims to inspire listeners to dream big and work hard in the quilting studio!
Wednesday, March 21, 2012
Monday, February 27, 2012
Studios Magazine 2012
I am so excited to announce that I have been accepted for the second time to be in Studios magazine. Since I've moved across Canada and have a completely different space, they were happy to accept the submission of a new article. The Studios Summer 2012 issue will be coming out in mid-May and my brand new studio will be featured. The article I've written focusses on creating a functional space with the things you love so your studio draws you back again and again for inspiration. Here is a sneak peek of 2 photos that didn't quite make the cut because Oliver licked my face! YUCK! And the photos show such a small part of my studio that they don't give it all away!
Be sure to watch for the summer 2012 issue of Studios Magazine!
Saturday, January 21, 2012
Whimsical Name Tag
Here's a quick look at the latest few name tags I've made for the local guilds and fibre art groups that I belong to. The first one was so fun that I've posted a tutorial below in case you are inspired to try one yourself.
The quilting guilds and fibre art groups in my local area require members to wear a name tag. (thank my lucky stars!) One guild has members make a name tag from a small kit of the materials they provide and you must wear it for fear of being caught and owing 50 cents. (I haven't been caught yet, but have been known to protect others by sitting between them and the name tag police) A clever idea was that the colour of the blue/green binding denotes the year I joined the guild.
The fibre art guild challenge was anything fibrous of my own design. For this one I played with hand dyed gauze, some fluffy embellishments and buttons. Now that I have captured it forever in iPhoto I see that it looks much like one of my bad hair days and I must have stitched my name after a full glass of wine. (Yep, for me it only takes one.) It makes a good story every time someone turns their head sideways to try and read it.
The larger quilting guild I belong to suggested I either make my own, or buy the official name tag of the guild, so I decided to do both. I was very pleased to discover that the name tag attaches to my shirt with an industrial strength magnet. This gave me the option to add a fabric element between the magnets for a unique design.
WHIMSICAL NAME TAG TUTORIAL:
The guild has a standing order so I picked up my name tag for $11.00 at the local trophy shop. (You could also use any pin type name tag, or design a fabric centre of your own with a stitched or printed name). I simply traced the rectangle for its size and drew a scribbly design around it and cut it out.
The next step is to find fabric and I wanted a punch of colour so I thought of a piece that my son had painted thickly with acrylic (he took it outside and threw pennies on it for a sun print). I numbered the shapes in the sketch and traced them on fabric with pencil. You can just eyeball it and cut them out to fit behind the rectangle.
Then I arranged the pieces on (any type of) fusible interface and pressed it in place. I used an ironing sheet (wax paper will do) to just press the whole design at once so the sheet just peels off protecting the iron from gunk.
Once I set my design in place I chose some wool to compliment the fabric (or you can use any embellishments) I cut snips of wool and stitched them on with a simple zig zag. I used a light colour of thread so you could see the detail, but you can match your thread to the wool.
Then you simply cut away the remaining fusible and snip the ends of the wool for a finished design. There you have it! A beautiful name tag. And if you want it to look less whimsical as my friend noted "it's like a jester's hat - perfect for you!" then simply use some deep rich batiks or any fabric scraps that inspire you in that moment.
'Tis the season to get your quilting groove on. Be happy!
Monday, December 19, 2011
Holiday treasures from afar...
Moving across the country, embarking on new, exciting careers and getting involved in this wonderful community have all been a part of our dreams coming true. The one thing, of course, that we miss dearly this holiday season is the closeness of our family and friends from afar. But true to their wonderful selves we have been showered with gifts in the mail. Many of them are safely tucked around the tree still in the brown postage stamped wrap waiting for Christmas morning. But here is one, perhaps less of a strict holiday gift, and more of a friendly thought (so I was convinced to open it!) from my dear Rochelle in the UK. If you'd seen my response, you'd think she'd hit my sweet tooth! They are gorgeous vintage style cotton fabrics from The Cotton Spool and a felt mini roll from the The Button Company as well as some other ravingly cute embellishments. Thank you love! (in my best London accent...) You are pure sweetness! Happy Holidays while you are back home visiting the prairies! Brandy Lynn
Sunday, November 20, 2011
Getting my waxy groove on
I took a creative encaustic class on Saturday by a famous Okanagan artist named Thea Haubrich. Her work is amazing and often featured in local shows. Her instruction was detailed, fun and furious. We created a few samples each with techniques ranging from tried and true to innovative and even flammable! Here are the samples I came up with.
This was a great escape from daily life and it was nice to just relax with friends. Stay tuned for some great news about my upcoming business adventures! I love you all for tagging along even though my blogging has been few and far between lately.
Tuesday, September 20, 2011
An Old Fashioned Fall Fair - How Refreshing!
Hi Everyone,
So happy to be crashing back into the blogging scene with some wonderful news. I have been focussing primarily on my writing over the summer in an attempt to finish my poetry manuscript, but the return of the local quilting guild meetings has me all in a buzz over fibre art again. Being one of the newest members of my local quilting guild I was encouraged to enter a few things in the town's Fall Fair. I was pleasantly surprised to find out I won a 1st, 2nd, and 3rd place finish for 3 different quilts. Here they are....
3rd Place - Damsel Fly. I entered this in the applique category and it was a bit of a misfit being more of an art quilt with fibre, paint and foil. They are considering an art quilt category for next year.
2nd Place - Nana's Christmas Quilt. This was the first traditional quilt that I completed from start to finish while taking a beginner sampler class with Wanda Steiner in Winnipeg. The best thing about gifting this quilt to my mom is that she lives with us in an in-law suite, so I get to enjoy it as much as she does.
1st Place - Group Quilt - Gavin's Froggy Quilt. I made this quilt last year and I'll tell you there is no better way to make 20 tiny paper pieced frogs than to do it as a round robin. So thank you to all of my wonderful quilting friends who each made a block. We won!
Sunday, April 17, 2011
A friendship - with benefits
I guess that cliche can sound a bit tawdry, but in my case I am blessed with friendships that benefit me greatly in so many good ways. My friends support me when I am struggling, they laugh when it's not that funny, they set me right when I am being a nuisance and most of all, they think of me, no matter where they are in the world whenever they ever see any kind of fabric or fibre art.
I love my friends! Here is a beautiful piece of hand painted fibre art given to me by my friend Lori recently. She found this treasure on her latest hot holiday and thought of me. So very sweet!
Subscribe to:
Posts (Atom)